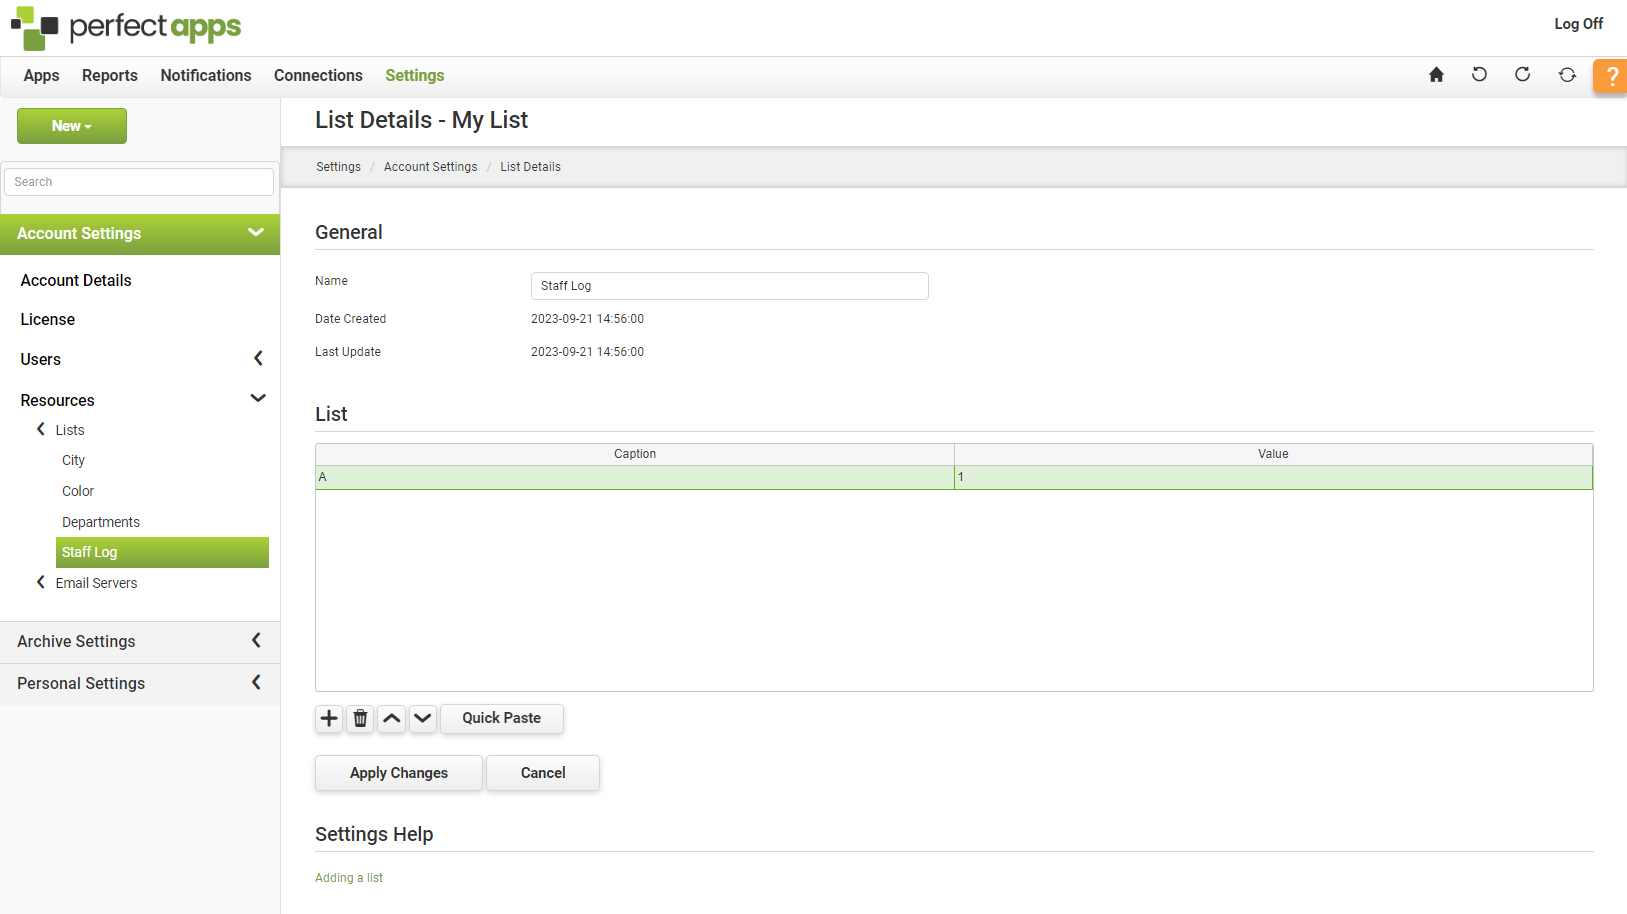
Lists are resources that can be used when designing your apps and reports. Lists will include commonly used options for your business needs such as lists of staff, lists of regions, lists of branch offices and more. You will be able to access list resources when adding drop-downs and lists to your apps.
|
You must have a Full User account with the added Account privilege in order to create account resources. |
|
Adding a list as an account resource: |
1.Go to the Settings Dashboard. Click the New button and choose List.
2.On the List details screen, enter a Name for the new list resource under the General section.

3.Click Add to manually enter captions and values to the list. Captions are the list options as they appear to the app users; values are the data returned.
4.Complete one of the following actions.
•Copy (Ctrl + V on your keyboard) text from a file or other document and click Quick Paste. Press Ctrl + V to paste the list options into the Quick Paste screen. Separate the item caption and value with a comma (if they will differ, otherwise you may enter just the list caption and the value will automatically be set to that). Separate each item listing by pressing Enter. Click OK. The list will be shown in the table. Click Apply Changes.
•Import a list of captions and values from a .TXT or .CSV file, by clicking Import.
•Click Browse to locate the .TXT or .CSV file then click Next. Click Done. The imported list will shown in the table.
5.Use the Up, Down and Remove buttons to arrange the list as you want it.
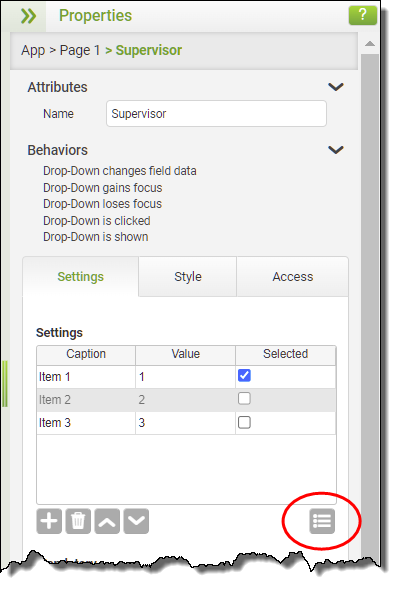
6.After creating the list, it will be available for use with a Drop-Down object or a List object in the App Designer or Report Designer. To choose the list click the Add Predefined List button from the Items section of the properties area. See Adding a Drop-Down.

Adding Lists (3 min) |
Learn how to add our own options for selection lists in the system resource section. |
See also: Adding an E-mail Server as an Account Resource
Return to: Resources, Account Settings, Settings Dashboard, Dashboards & Workspaces


