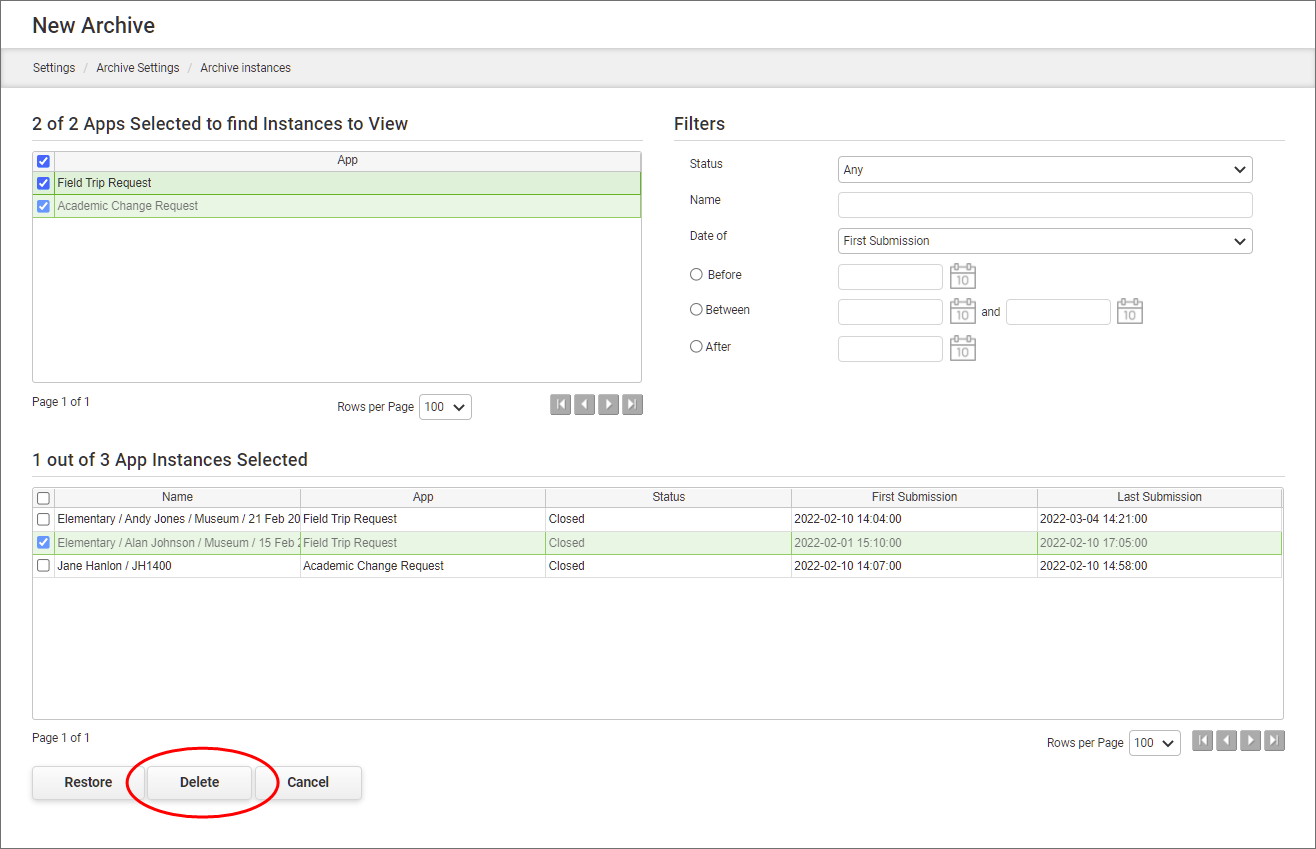
The Archived Instances page enables you to select one or more previously archived app instances to delete permanently.
|
To permanently delete archived app instances: |
1.Navigate to the Settings Dashboard.
2.Expand the Archiving Settings tree node and select Archived Instances.
3.In the Select Apps and Filters to View Archived Instances section, select one or more apps from the list. To quickly select all apps in the list, click the check box in the heading row at the top of the table. Once apps have been selected, the associated app instances will display in the results list at the bottom of the page.
4.You can choose to filter the results list by selecting a specific app instance status, entering an instance name or narrowing based on date combinations. For details on the filtering options, see the Filtering Your Results List topic.
5.Select one or more archived app instances from the results list. Again, you may select the check box in the heading row at the top of the table to quickly select all app instances in the list.
6.Click Delete.

|
Settings assigned in the Administration Console can determine whether or not you have the ability to permanently delete instances that were archived at the system level by the System Administrator. |
See also: Filtering Your Results List
Return to: Archiving Settings


